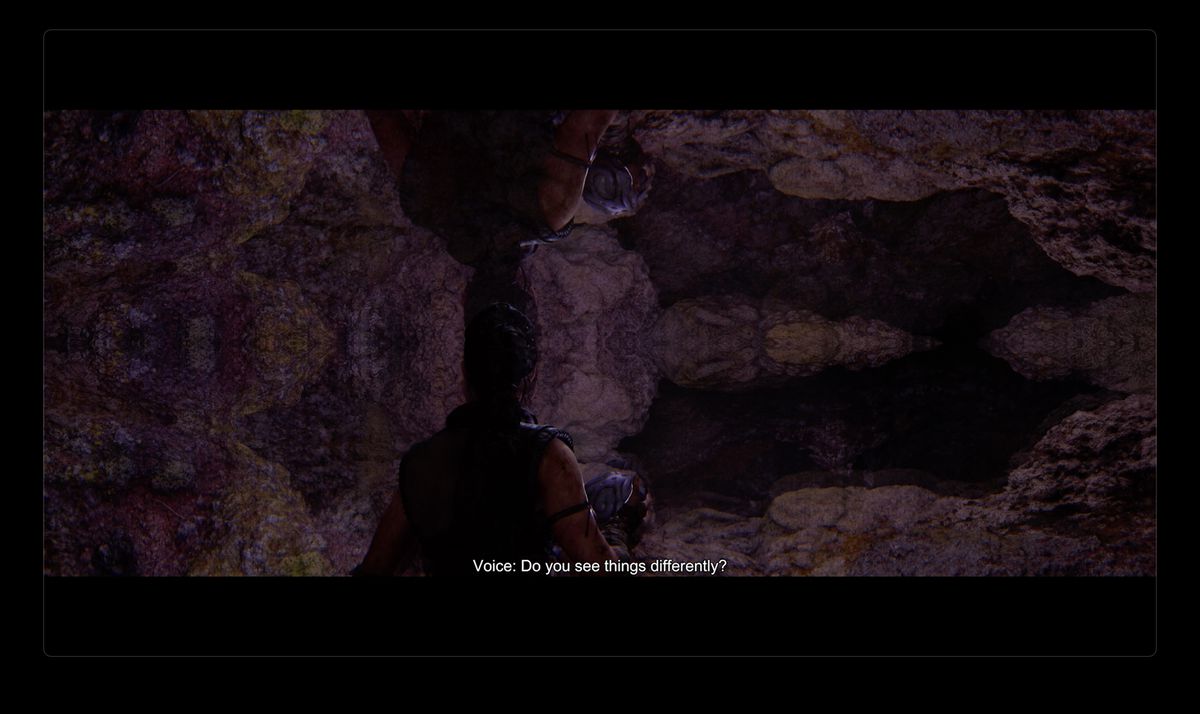
Finding the hiddenfolk in Hellblade 2 is a long process full of puzzles and visions. You’ll start this part of Senua’s journey shortly after the (long) walk to Fargrimr’s village and your first encounter with Illtauga. Fargrimr will send you off to find the Hiddenfolk and earn their favor during the end of chapter 3, “Raudholar” (well, “Rauðhólar”).
To solve the puzzles, you’ll have to collect stone balls from nearby and return them to the puzzle’s central pillar. It’s not as straightforward as just walking around, though, and involves some mind-bending visuals.
Our Hellblade 2 guide will show you where to find the carved stone balls in all three of the hiddenfolk puzzles.
Hiddenfolk puzzle solution #1
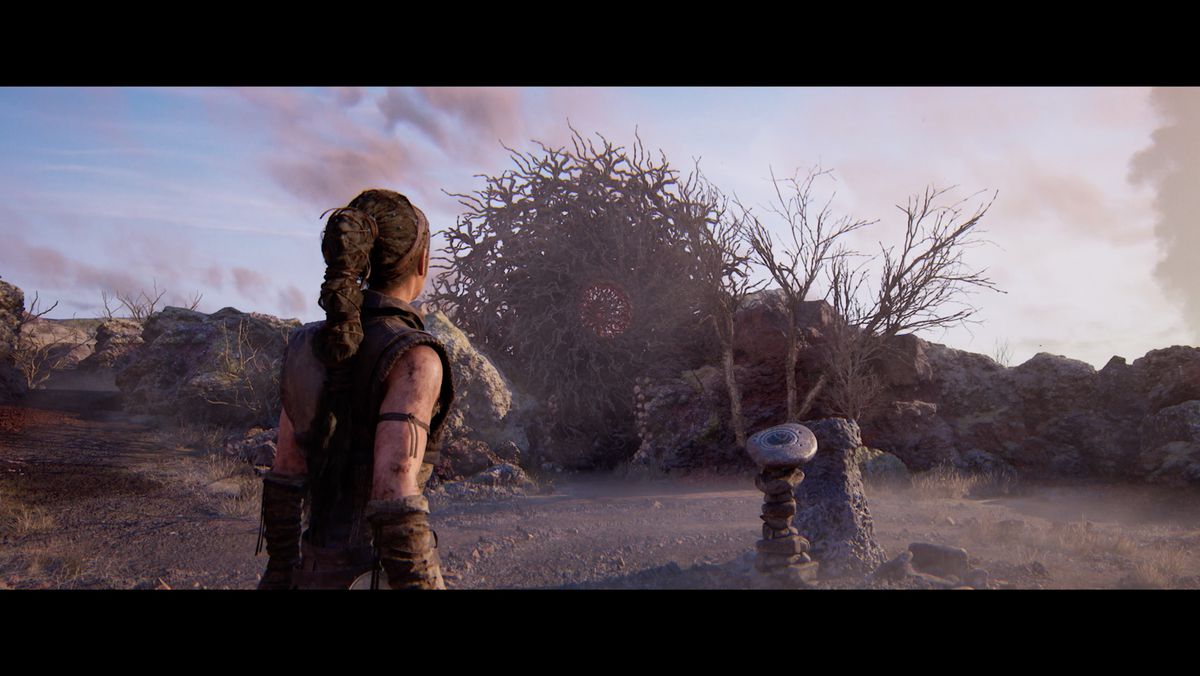
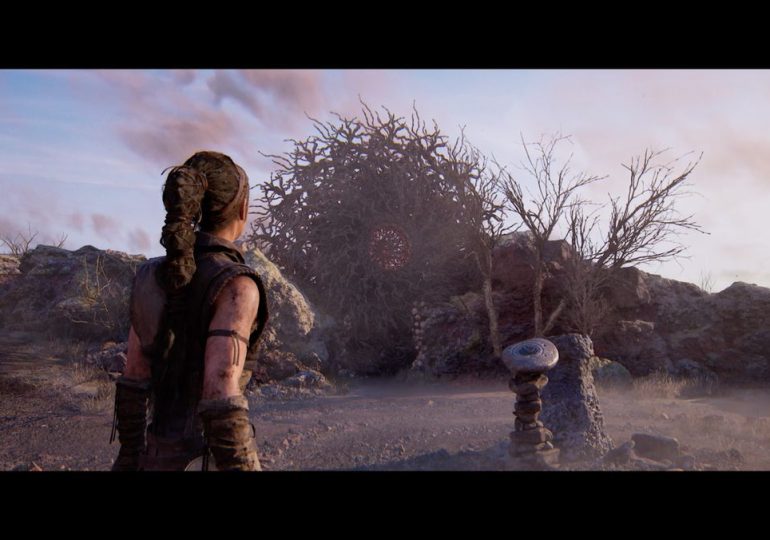
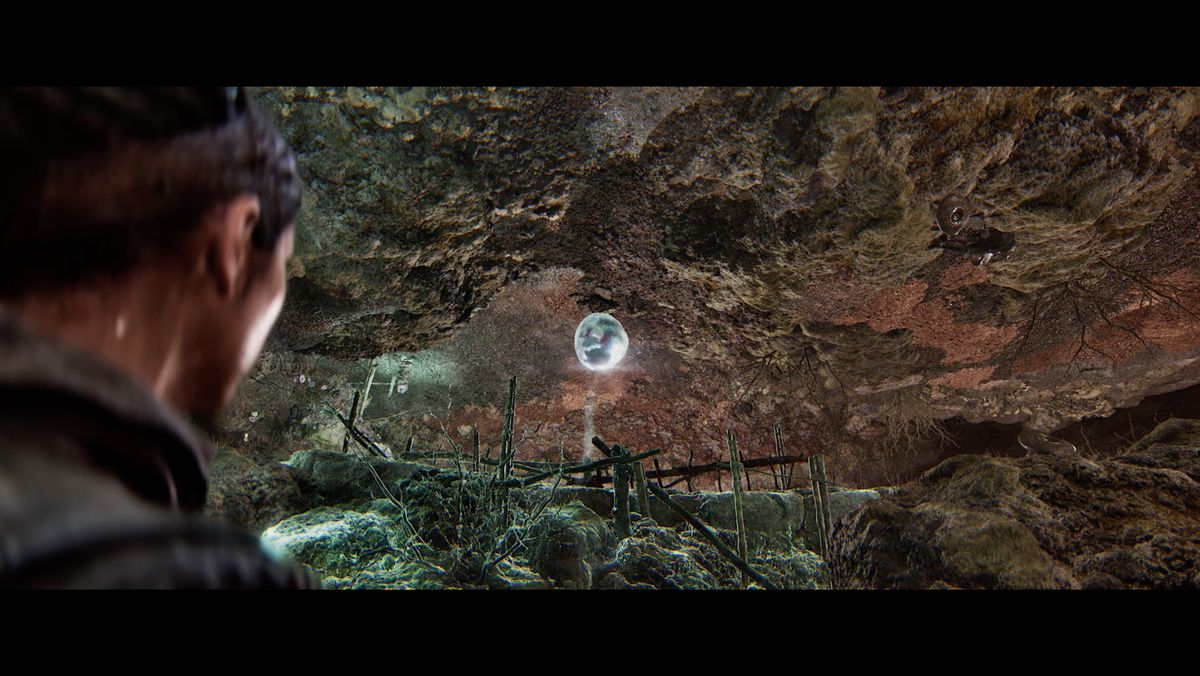
Leave Fargrimr’s house and follow the path down the cliff. Keep following the path until you come to a depression in the rocks with a short stone pillar in the center. Drop down in to start the puzzle.
First stone ball location
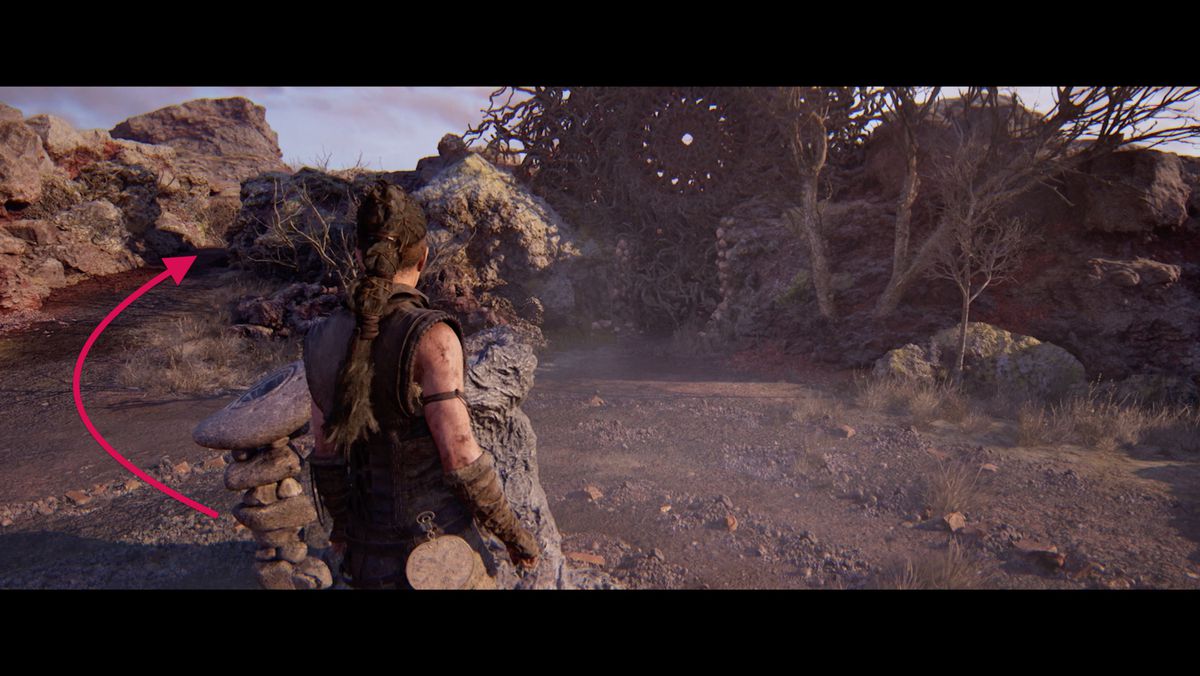
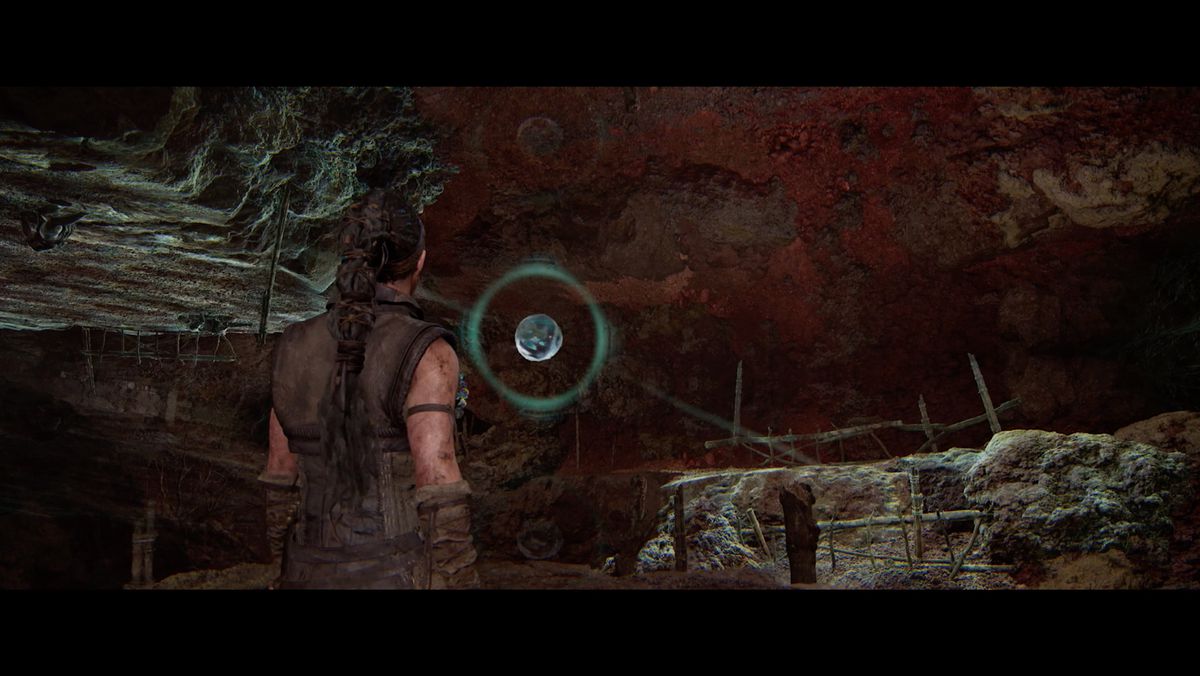
Facing the fractal gate that opens, head to the left to find a path. Just a little way up, you’ll find a pedestal with the first stone ball.
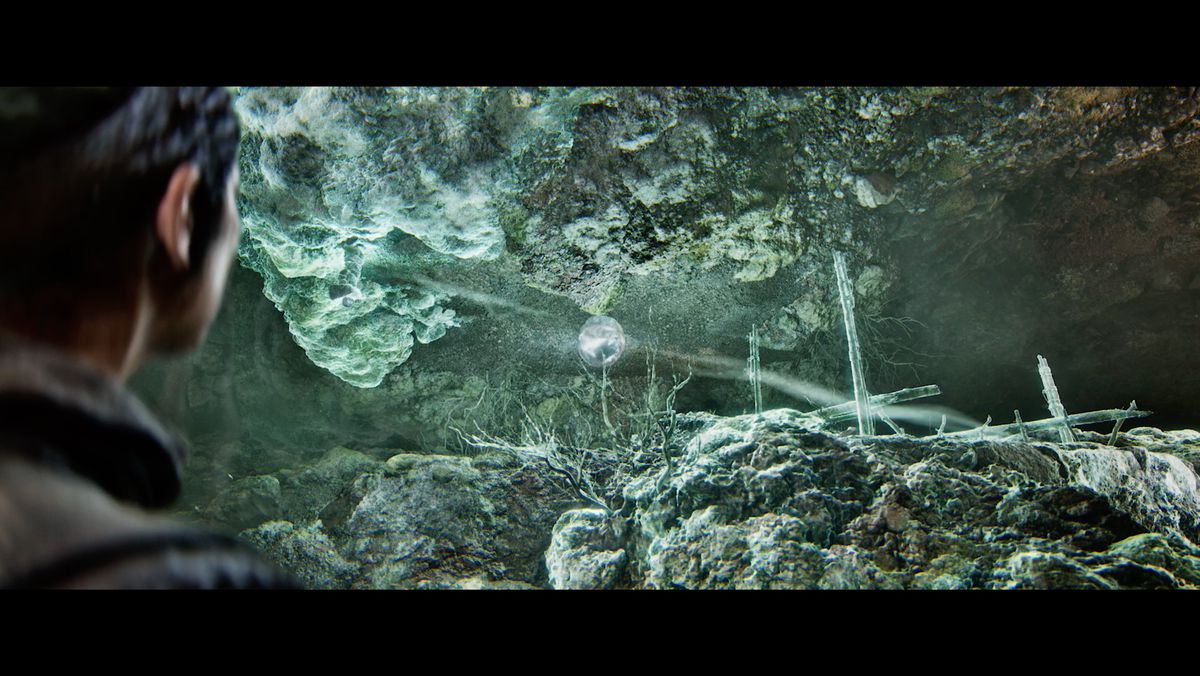
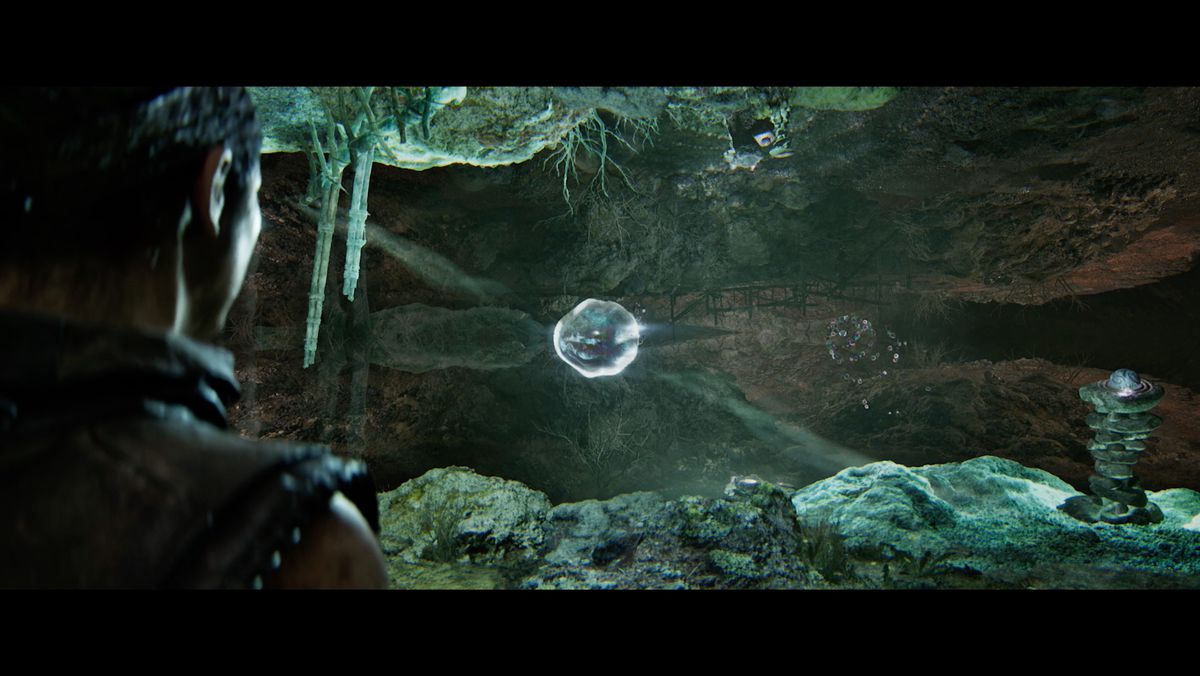
Pick it up, and the world will mirror, leaving you in a cave. It’s weird, but you just have to walk back the way you came and place the first ball at the central pillar.
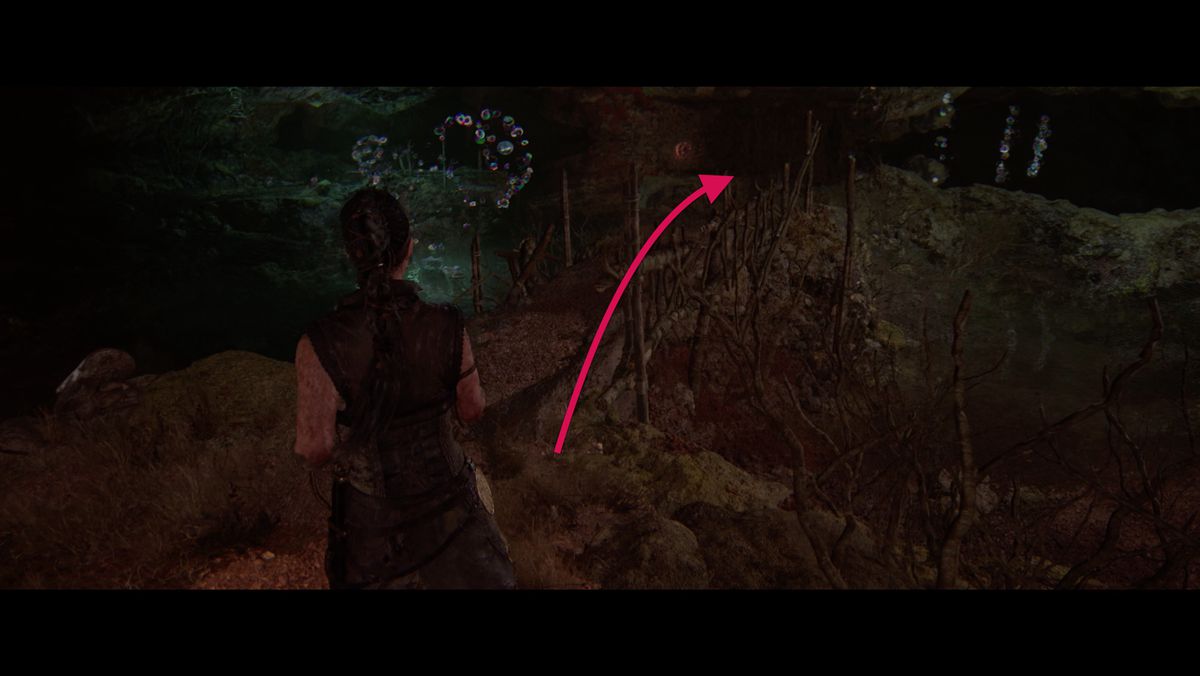
Second stone ball location
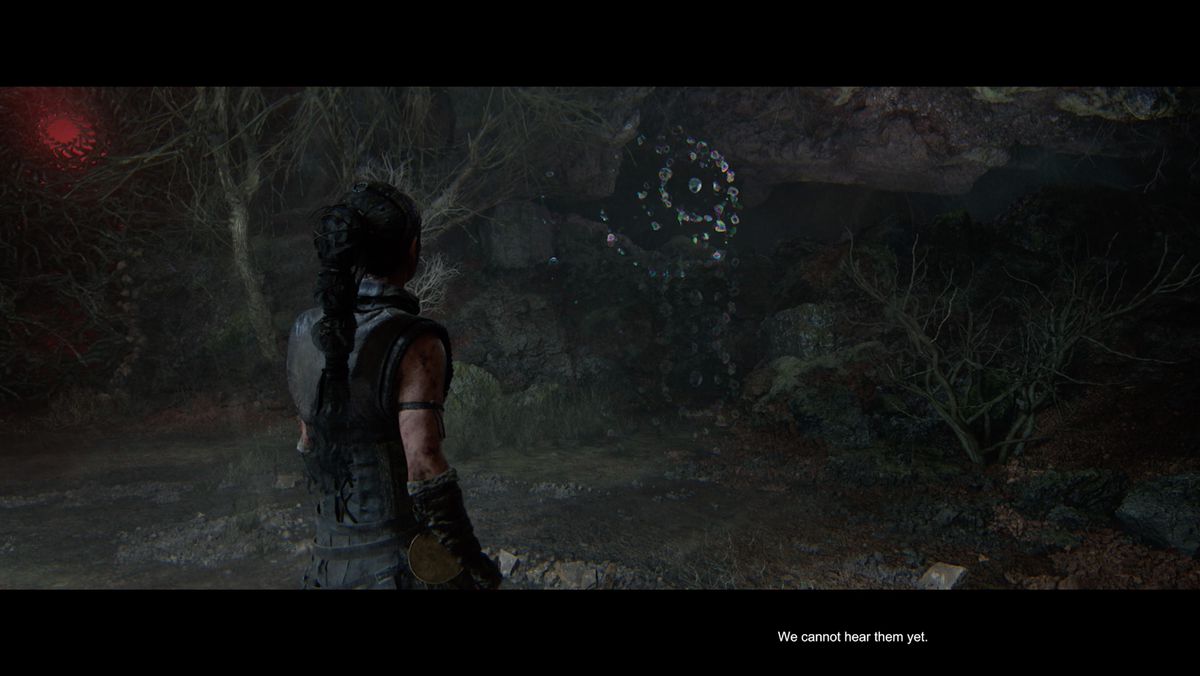
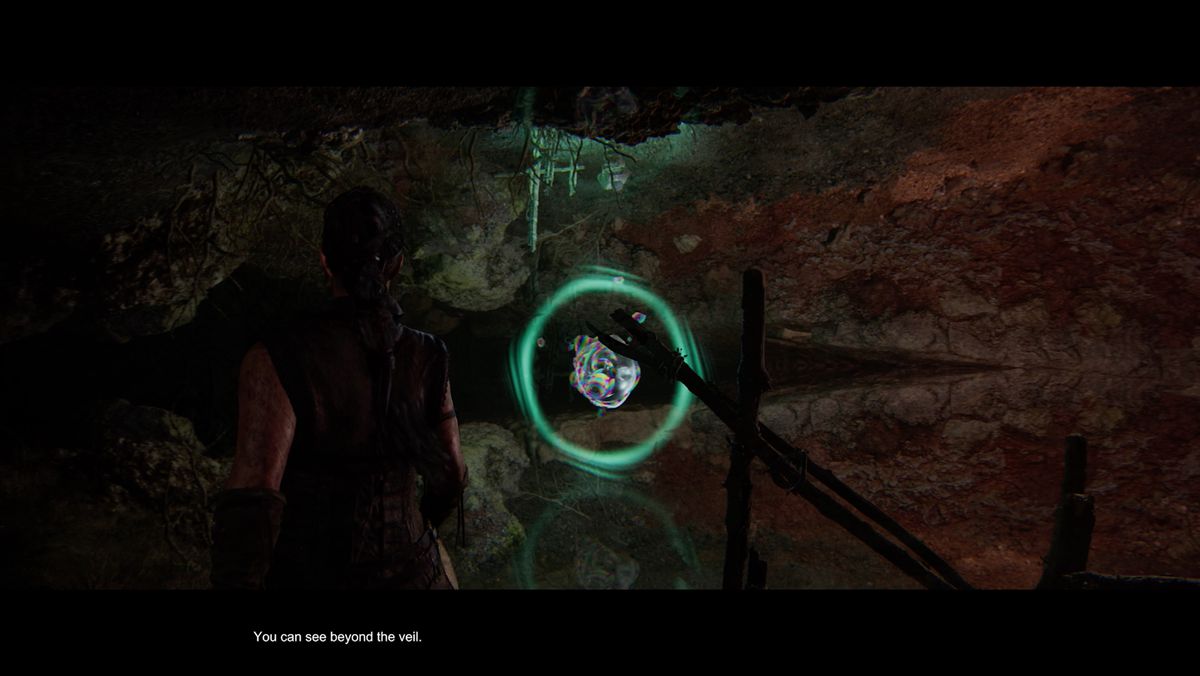
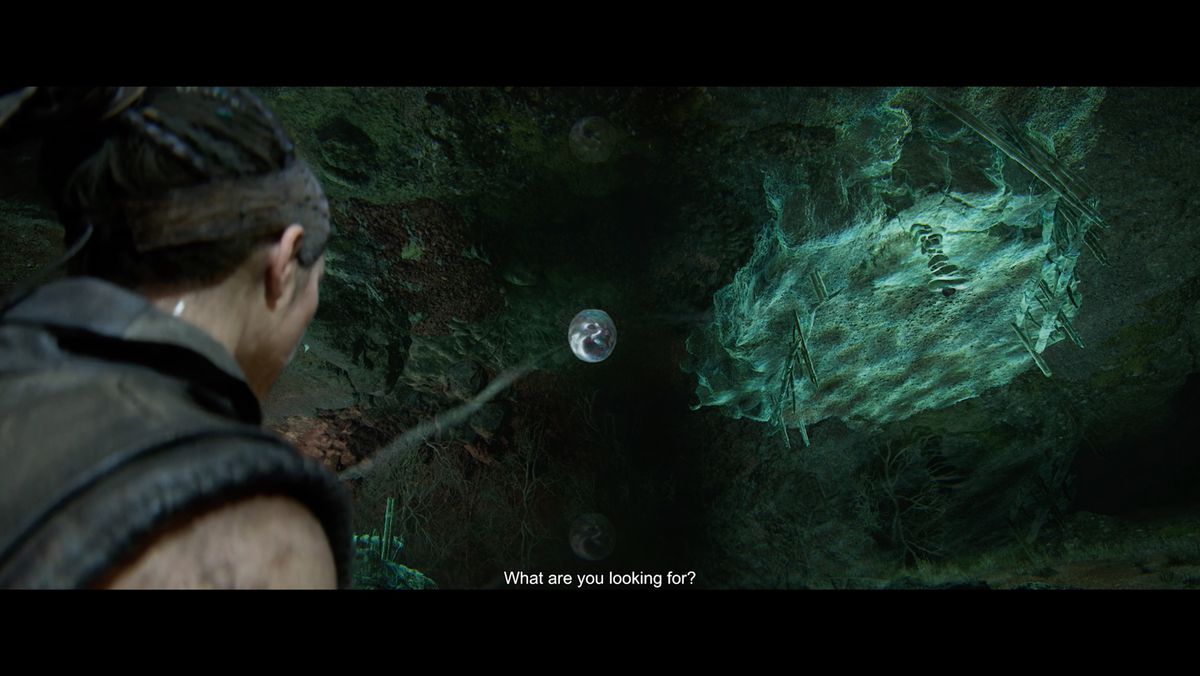
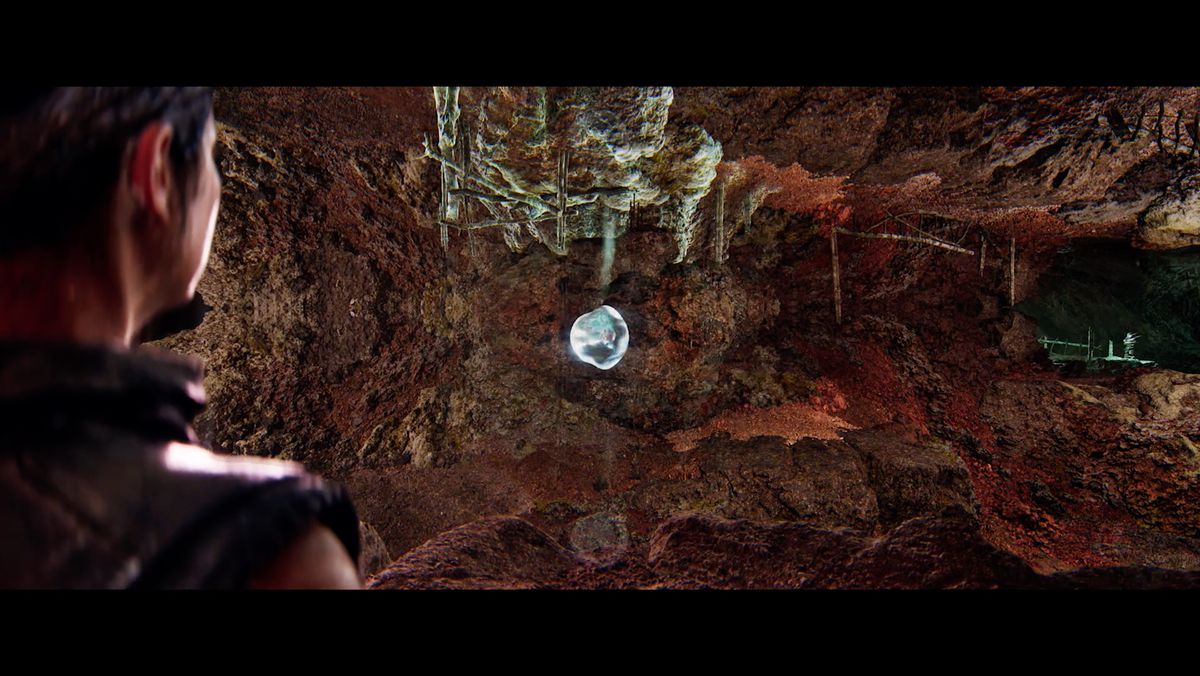
When you place it, three rings of water-like droplets will appear off to the right. Treat them like a target — stand so that the rings are concentric like a bullseye. When you’re in the right place, they’ll condense into one droplet and you can focus on it.

Doing so will move the rock blocking your path from the ground to the mirrored version on the ceiling. Walk through and take a right. Follow the path to the second stone ball. Return it to the center to open the gate.
Hiddenfolk puzzle solution #2
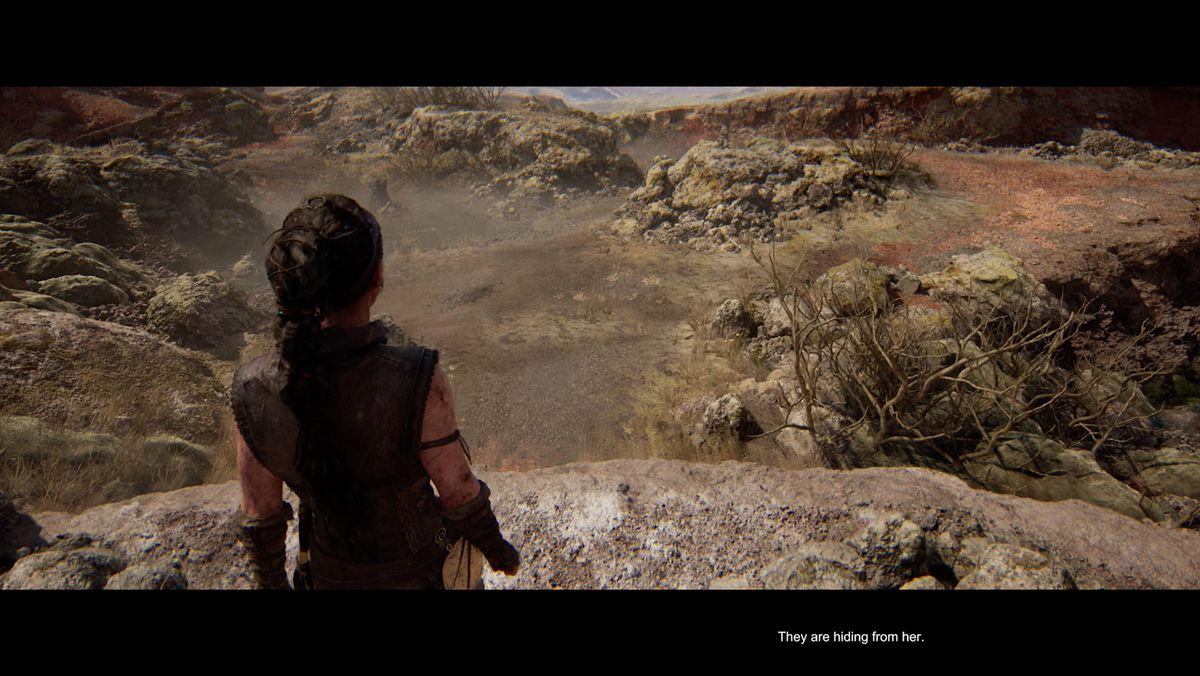
A bit of a walk later, you’ll come to another drop and another short pillar. You might even see the first stone ball before you spot the central pedestal(s).
First stone ball location
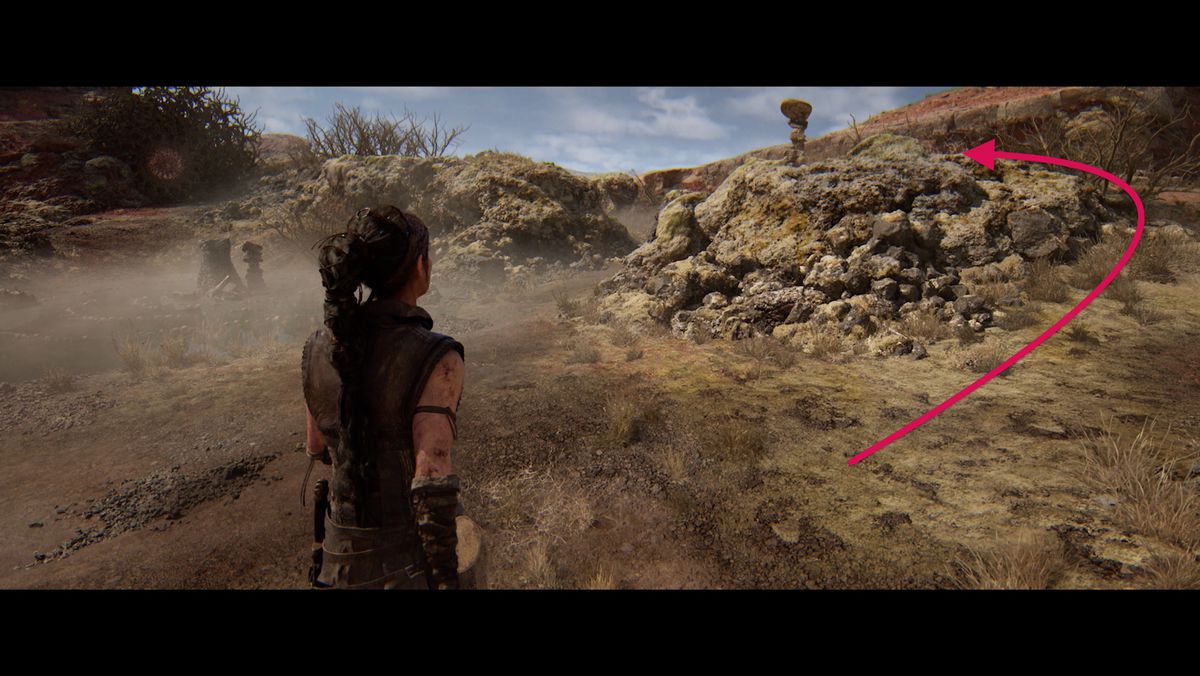
As soon as you drop down to the puzzle, take a right. Follow the path up and to the left to find the first stone ball. The world will mirror again. Walk it down to the center and place it. More of the water droplets will appear when you do.
Second stone ball location
Head back toward where the first stone ball was. There will be some water rings on your left. Line them up and focus on them to move a bridge from the ceiling to the floor.
Loop back up to the platform where you found the first stone ball. You’ll be able to cross the bridge you just moved this time.
At the far end, use the water rings on your right to move the second stone ball to the floor. You won’t be able to get to it yet.
Backtrack down to the floor and use the first set of rings to move the bridge back to the ceiling. Now you can pass through the gap and take a left to find the second stone ball.
Third stone ball location
The third ball is off to the left side of the gate. You can even see the stone ball on its pedestal, but you can’t get to it. Use the rings on that side to flip the two ledges — moving the stone ball to the ceiling, but dropping a climbable ledge.
Climb up the ledge and focus on the water again to drop the third stone ball. Focus on the water one more time to get the ledge back. Drop down and place the third stone ball to unlock the gate.
Hiddenfolk puzzle solution #3
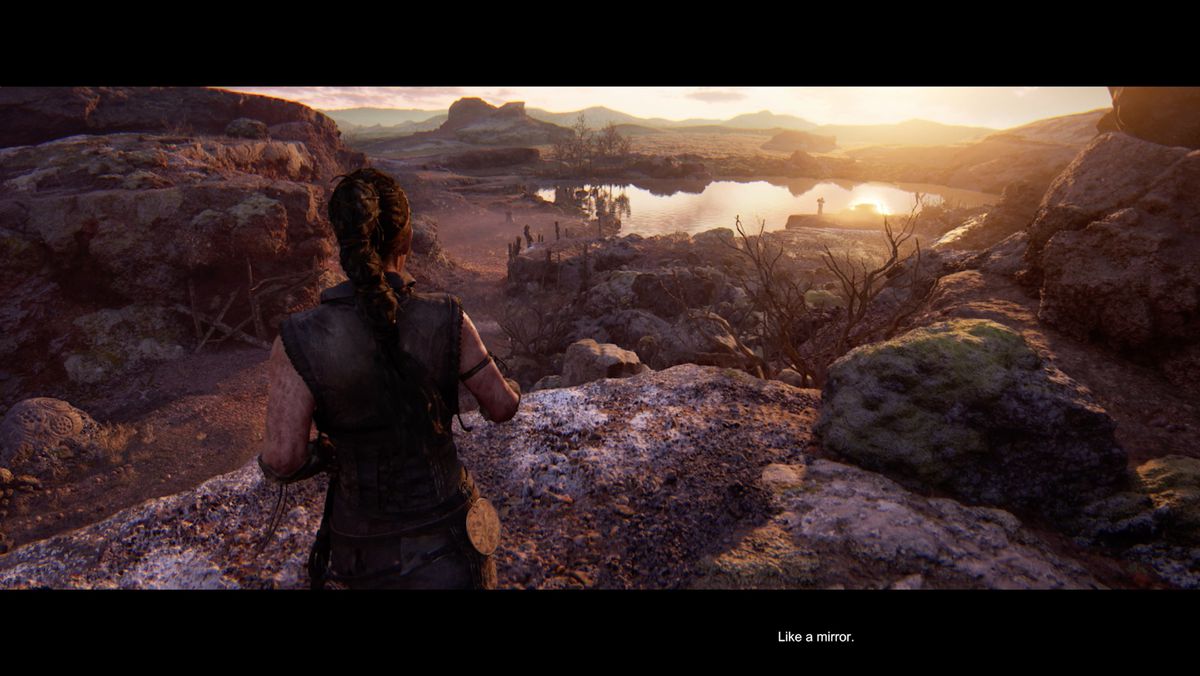
A bit more walking and a quick crawl through a cave will bring you to a mirror-like lake. This is where you’ll find the third Hiddenfolk puzzle.
First stone ball location
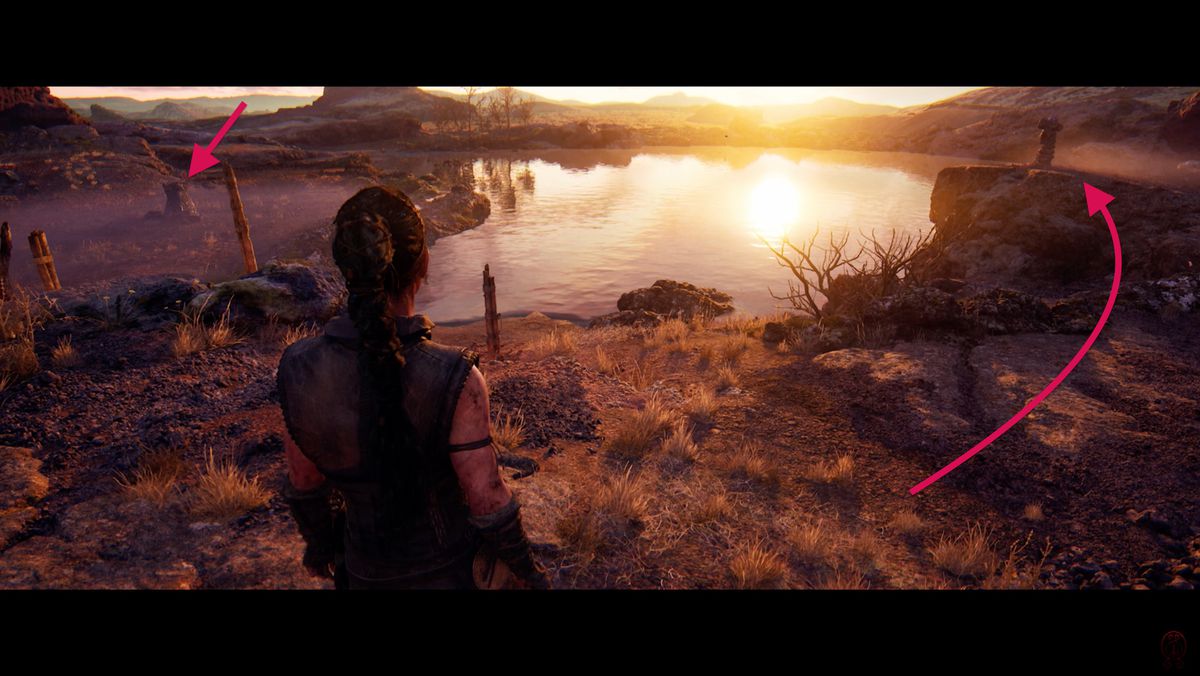
As you approach the lake, you’ll see the first stone ball over to the left. At the same time, you’ll be able to see the main pedestal over to the left. Go grab the stone ball to flip the world and deliver the first ball.
Second stone ball location
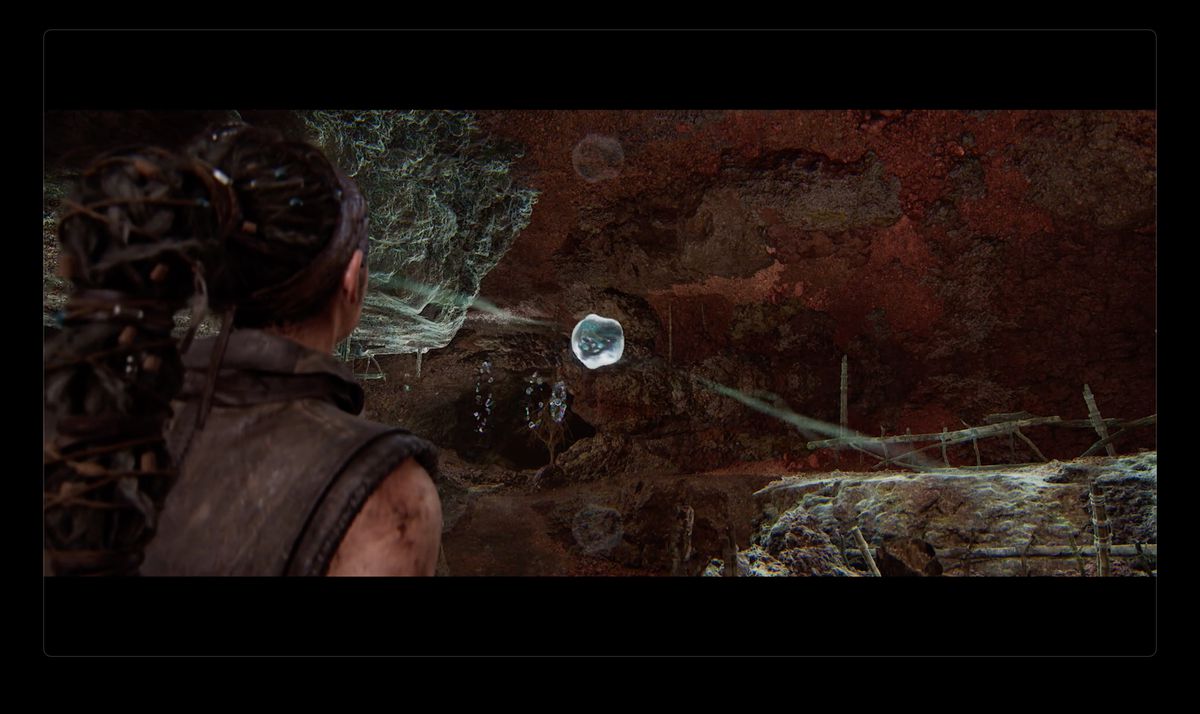
When you place the first stone ball, more water droplet rings will appear. Use the rings directly ahead of you to flip down a second stone sphere. Head off the right to find a path up to the second stone sphere. Grab it and return it to the center.
Third stone ball location
Before you go too far, flip the water rings you just used again — there’s another pedestal on the other side that you’ll need to get to.
Head back toward where you started the puzzle. There will be a ledge you can climb on your left. Hop up and then turn around to find more water rings. Use them to flip a path down on your left.
Turn around and head away from the rings. There’s a ledge on the right that will lead you back to the path you just flipped. At the far end, use the rings to move a big chunk of rock out of your way, but…
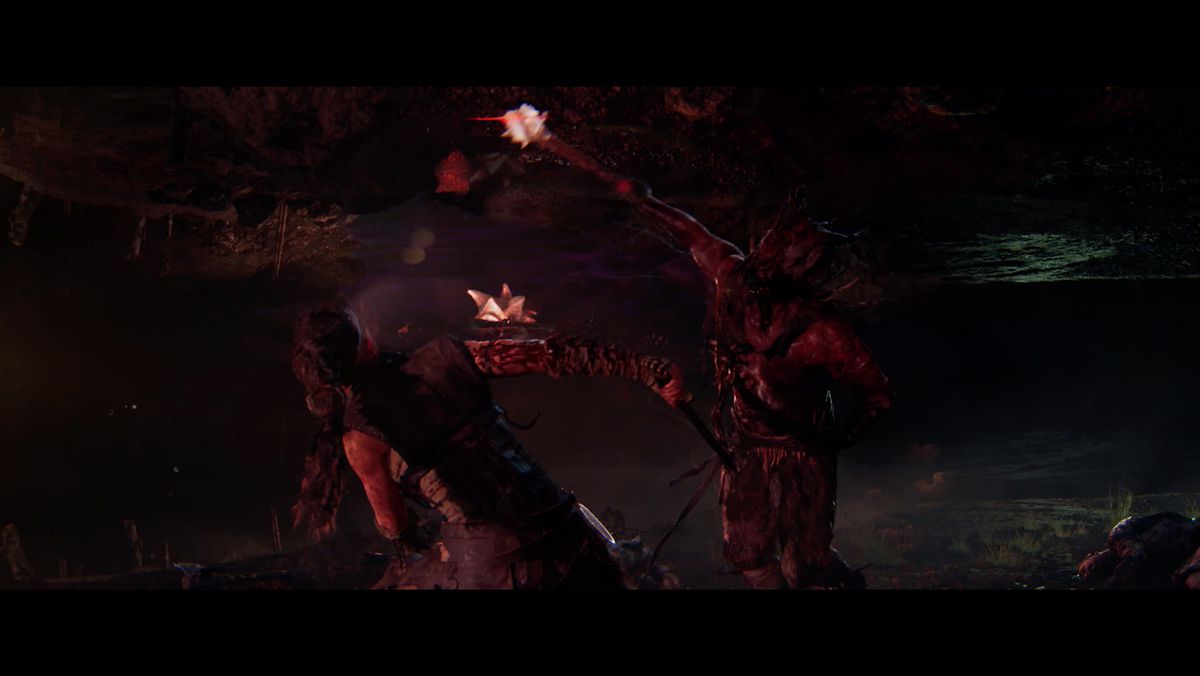
You’ll get attacked by draugar before you can do much else. Handle the four that attack you, and you’ll be able to continue.
Backtrack down to the main floor, and use the water rings to (re)flip the path you just used. Head away from the central pillars to find the end of the path you’ve just created. Take a right, duck under the rock you flipped earlier, and follow the path back to the third stone ball. There’s a ledge right next to it so you can drop down and finish the puzzle.