Deep Rock Galactic: Survivor is a “be the bullet-hell game” auto-shooter à la the much beloved Vampire Survivors. But instead of playing as pixelated characters who wouldn’t look out of place in a certain vampire platforming series, you embody the four dwarves from the Deep Rock Galactic mining game.
Each of the dwarves has their own weapon and playstyle, and some of them have access to completely different weapons. You’ll need all of these tools and some upgrades in order to shoot and mine your way through the depths of the three different biomes.
In this Deep Rock Galactic: Survivor guide, we’ll walk you through some beginner tips and teach you how to take out legions of bugs relatively unscathed.
Get your weapons to level 12 ASAP

Each time you pick up an upgrade for a weapon in Deep Rock Galactic: Survivor, you’ll also increase its level. This is usually just by one, but some rarer upgrades can level up weapons faster. These upgrades are always useful, giving you faster reload speed or increased damage. But when you first unlock a weapon, you want to upgrade it to level 12 before you end your run.
By doing this, you’ll unlock special Overclock upgrades for your weapons. The next time you drop into a dive, you’ll be able to pick up new upgrades that can drastically alter the functionality of that weapon when you reach certain level thresholds. These upgrades are extremely powerful, so unlocking Overclocking on as many weapons as possible will really boost your power in Deep Rock Galactic: Survivor.
Read the weapon descriptions carefully

The weapons in Deep Rock Galactic: Survivor all work differently and some are a little goofy. Because of this, you want to make sure that you carefully read a weapon’s description when you first pick it up, as it might only shoot at enemies when your back is to them, or only fire at things you’re facing.
One of the best examples of this is the starting weapon for the Engineer class, the LMG turret. Some turrets — like this one — collect charges and only pop out when you stand still for a second. If you aren’t stopping to throw your turrets down, you’re essentially wasting a very powerful tool. So just be sure to familiarize yourself with weapons before you start using them in earnest.
Check out the milestones to set a goal for yourself
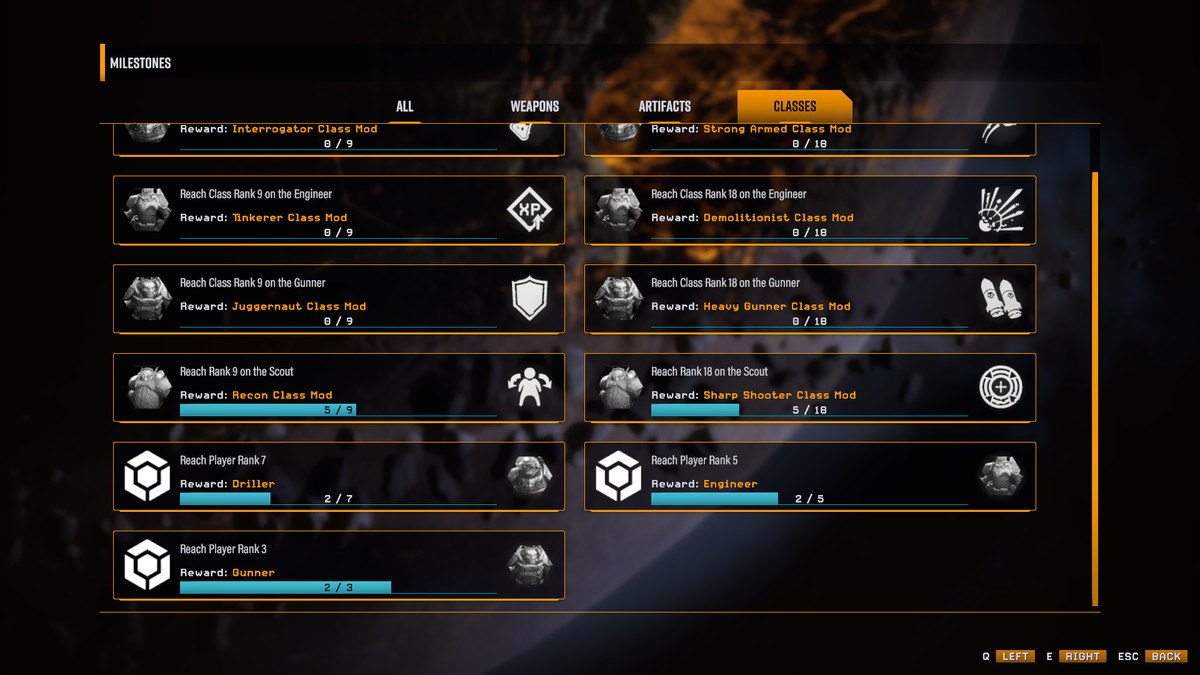
In games like Deep Rock Galactic: Survivor, it’s not always clear what you should be doing. Sure there are objectives for each level and difficulty, which will earn you bonus upgrades if you complete them. But there are also milestones in the milestones menu, which is how you unlock new weapons and artifacts.
Deep Rock Galactic: Survivor does a great job of showing you milestones you’re close to when you start a new dive. However, I recommend poking your head into the milestone menu before each dive so you can see what you’re close to unlocking. If you find out you just need to do a bit more cold damage to unlock a new artifact, that might change the kind of weapons and upgrades you select on your next dive.
Make paths through the rocks
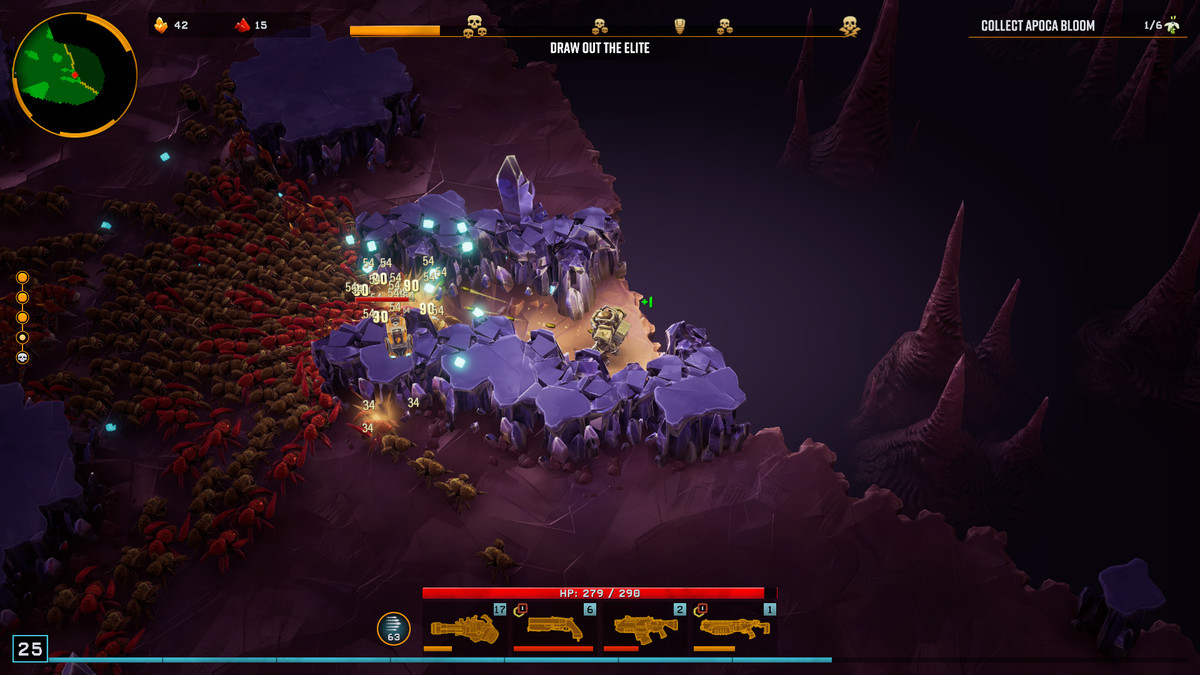
Because Deep Rock Galactic: Survivor marries mining with killing legions of bugs, it can be tempting to clear out large patches of rocks, leaving the entire floor clean so you have freedom of movement. Resist this urge! Instead, cut simple paths through the rocks and then come out the other side.
Bugs will take the fastest route to you possible, and if you create a small path for them, they’ll all funnel inside. This can slow bugs down, which is great, but it can also create a bit of a kill box for you, giving you a chance to decimate a legion of bugs (especially if you’re playing a Gunner) from relative safety.
Note that some of the bigger bugs can also do some mining, so be careful relying on these tunnels too heavily.
Don’t undervalue mine speed
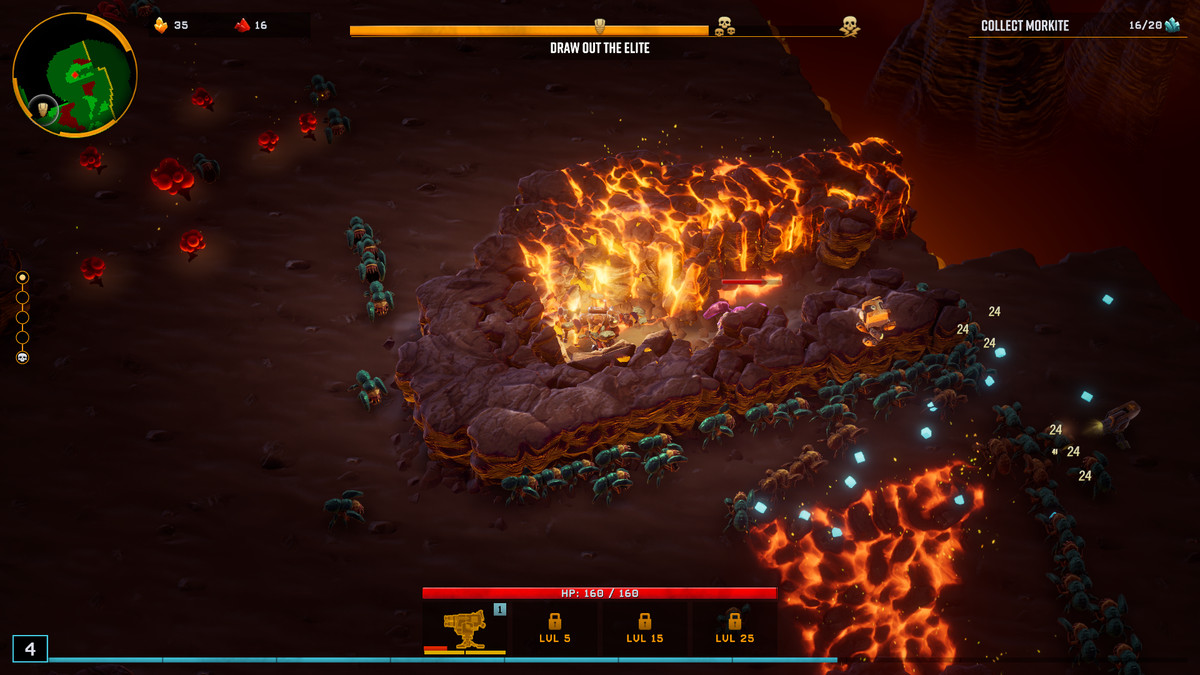
As I’ve explained, mining is a pretty important part to Deep Rock Galactic: Survivor, and it’s partially what separates this game from others in the genre, like Vampire Survivors. If you’re not used to Deep Rock Galactic: Survivor, you might think you should pump all your resources into increasing your damage or survivability. But while those things are very important, increasing your mining speed can get you out of some serious jams.
One of the easiest ways to protect yourself is to dive through a nearby rock, giving you an easy out from a bad situation. If you have low mining speed, you could get caught before you ever get the chance to escape, causing your health to plummet faster than you thought possible. Another reason why mining speed is useful is that you need to cut through rocks in order to get resources like gold. These resources can help you buy upgrades between floors, but you’ll also need other, more dense resources to unlock permanent upgrades for your dwarves outside of dives.
Bait exploder bugs

One of the most dangerous bug types in Deep Rock Galactic: Survivor are the exploder bugs, which are big, orange, and hard to miss. They travel in a pack with the other bugs and, if you get too close, they explode and deal massive damage. The thing is that you can use these guys to your advantage if you’re fast and careful.
Because these bugs travel in packs and deal damage to other bugs around them, you can actually walk close, wait for them to glow, and then run the hell away as fast as possible. If you do this correctly, you can cause a chain reaction capable of blowing up an entire swarm of bugs. This is not only an excellent way to get a group of bugs off your back, it’s also extremely efficient for killing elite bugs and farming XP.
Learn to manipulate the exploder bugs and you’ll find a lot of early success in Deep Rock Galactic: Survivor.
Drop Supply Beacons on boss bugs
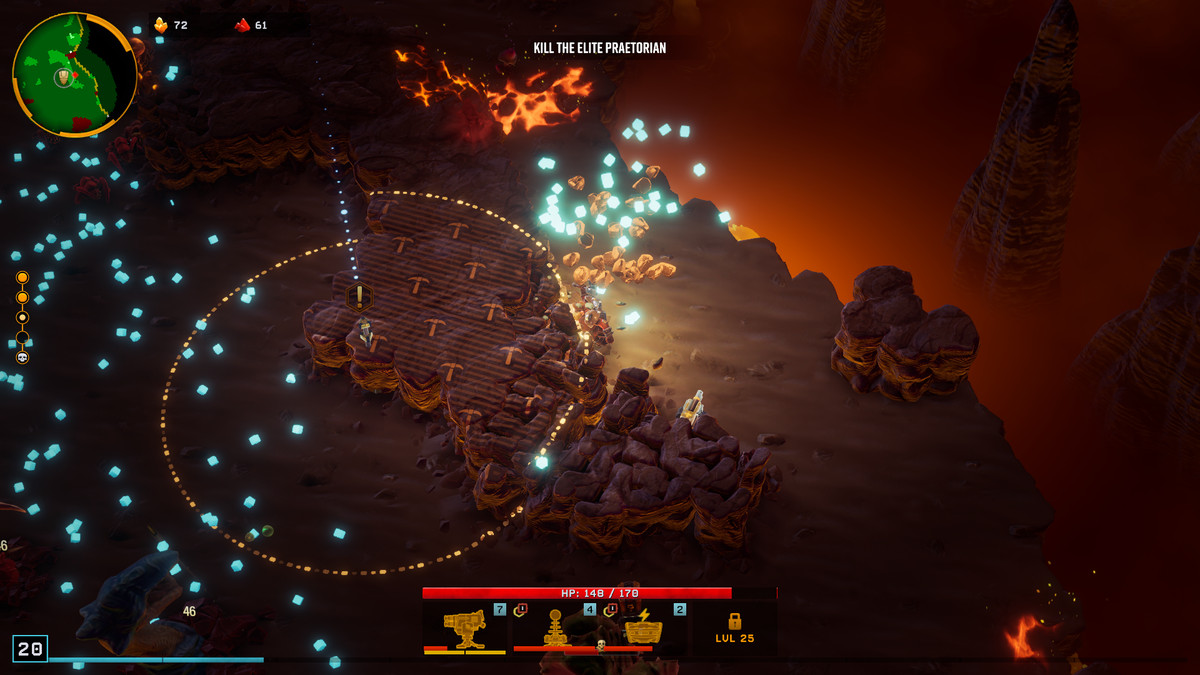
Part of the way through each floor, you’ll get notified that a Supply Beacon has appeared on the map. If you find one of these, dig out all the rocks from the nearby area, and stand nearby for a few seconds, you’ll summon a pod down and net yourself a new artifact. Now, this is almost always worthwhile, as you can get some powerful artifacts that increase your health or even give you XP every time you get damaged. But there’s something even better about these pods if you can time them correctly: they deal a ton of damage.
If you save these Supply Beacons until the boss comes out, and then kite the boss around in the circle while you’re waiting, the pod can drop onto the boss’ head, killing it instantly. This even works for the massive boss at the end of the dive — although it just does a lot of damage in this case, rather than killing it instantly.
Use these Supply Beacons to quickly dispose of bosses and pick up an artifact before you leave each level. It’s a very useful trick and a ton of fun to watch.
